Showing posts with label shaker cards. Show all posts

Whimsy Stamps May 2018 Release - Day 5

Saturday, May 5, 2018

Happy Saturday friends. I hope you are having a great day so far. I'm back today with a fun shaker card using some more new products from the latest release over at Whimsy Stamps.

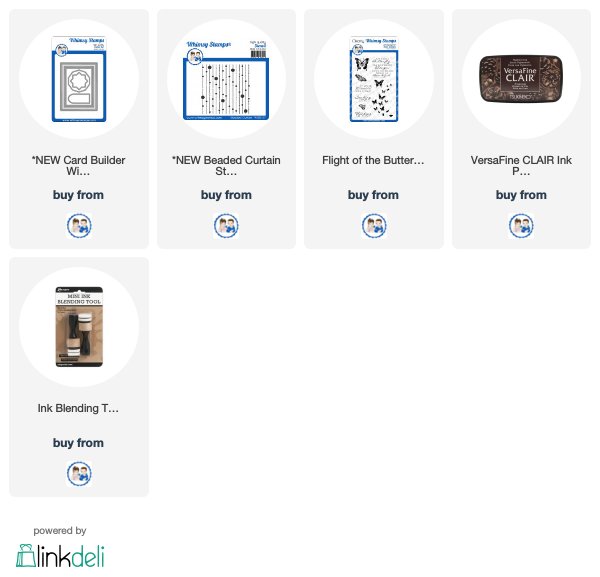
I started by die cutting some woodgrain card stock with the two largest dies from the new Card Builder Windows die set taped together to form a frame. I love the stitching details these dies add. And the woodgrain card stock adds such nice texture.

I also ran these dies through my Big Shot 5 more times with plain white card stock so I could build up my frame without having to use foam tape.

I pulled out the new Beaded Curtain stencil and blended on some Spun Sugar Distress Ink over top of it onto the smaller inside panel.  

I then reached for the older but still favorite Flight of the Butterflies stamp set and used the VersaFine Clair Pinecone ink pad to stamp both the butterflies and the sentiment. You guys, this ink is absolutely amazing. This was my first time using it and I am in love. The coverage is amazing. I did have to stamp my image a few times since I was stamping over the texture of the woodgrain card stock but again, I am in love!

I added some acetate and flat sequins and my shaker card is complete. Thanks for dropping by today and I hope you have a wonderful weekend. 


***Affiliate links used for some products at no additional cost to you. Thanks for your support in running this blog***
Merry Christmas with Doodlebug and MFT

Monday, December 25, 2017

Merry Christmas friends to those of you celebrating. And for those of you not, a happy Monday to you. I want to thank each of you for coming to my little spot on the web and for making blogging so rewarding. 

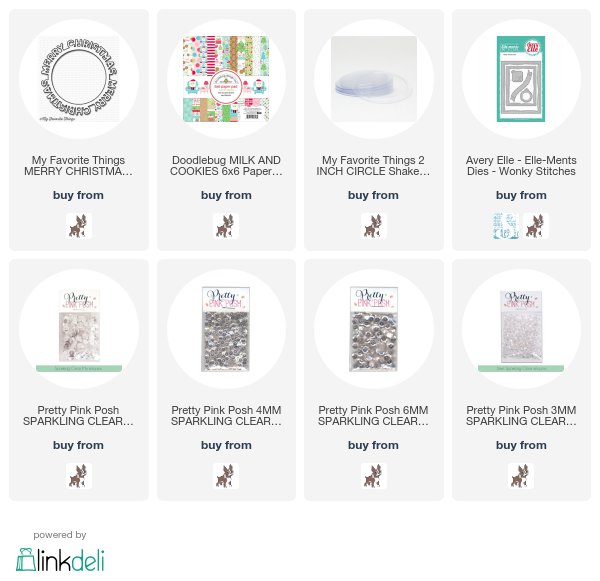
My card today was very easy to make using the fabulous shaker pouches from MFT along with their Merry Christmas Circle Frame. 

Best wishes to each of you. 


Happiest of Birthdays Shaker Card for TupeloDesignsLLC

Tuesday, November 14, 2017

Hi friends. I'm back today with another card featuring fun products available at TupeloDesignsLLC.

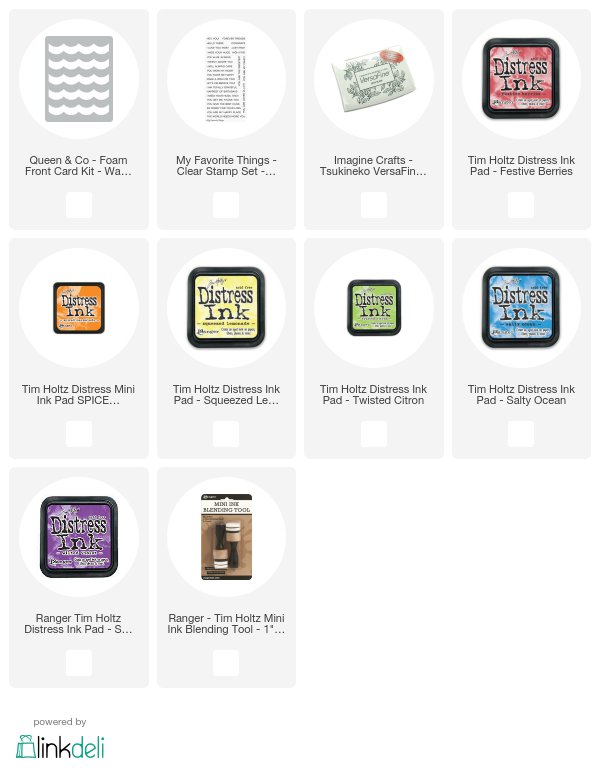
I am using the super fun Waves Foam Front Card Kit from Queen & Co. on today's card. The kit comes all the pieces you need to make a quick and easy shaker card.

I started by applying various colors of Distress inks onto the front panel in rainbow order. The panel has a bit of a slick surface to it so you get a slightly different look than if you were to just use regular card stock.

I used Festive Berries, Spiced Marmalade, Squeezed Lemonade, Twisted Citron, Salty Ocean and Wilted Violet.

I then stamped the sentiment which is from MFT's More Essential Sentiments stamp set.  I added some clear sequins into each of the wave portions and the card is done. The card kit makes putting together the shaker portion a breeze.


CFC#183 -- Shaker Cards

Thursday, September 21, 2017

Happy Friday friends. There's a new challenge at CAS-ual Fridays  -- shaker cards. They are still all the rage and they are just so much fun to make.

I started by stamping on some acetate with white Staz-on ink one of the sentiments from the Dream Then Do stamp set from CAS-ual Fridays.  I then constructed my shaker using a die from my stash. I love that even with all the sequins that I added, you can still see all of the sentiment.

I hope you'll participate in this challenge. You have a chance to win up to a $50 gift certificate to CAS-ual Fridays.  

Thanks for stopping by. Wishing you all a wonderful day.


Hello Gorgeous for TupeloDesignsLLC

Wednesday, September 6, 2017

Hi friends. I have a fun shaker card to share with you today for TupeloDesignsLLC. I am using products from Honey Bee Stamps again for my card.

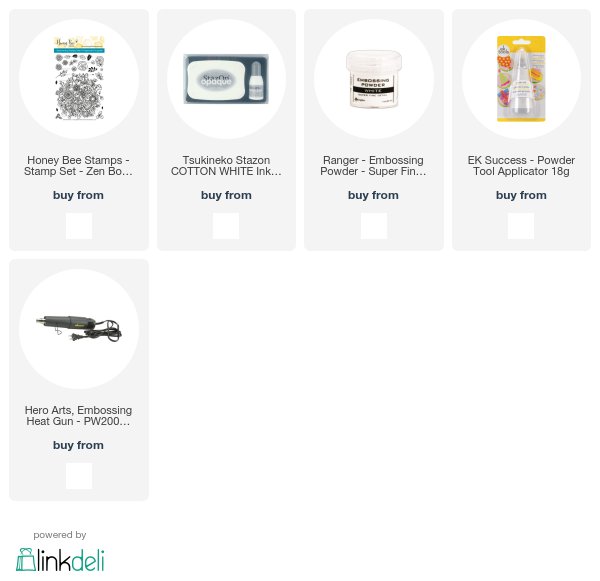
I started by heat embossing the beautiful floral image from Zen Bouquet onto some black card stock with white embossing powder.

I then did some real simple water coloring with my Finetec water colors. I just dropped in the color without very much water since I wasn't working on water color card stock.

After my panel was dry, I die cut it. I stamped my sentiment onto the acetate directly with some white Staz-on ink. I added some glitter and clear sequins and my shaker card is done.


DT Project for TupeloDesignsLLC

Tuesday, July 25, 2017

Happy Tuesday friends. I'm back with a card for TupeloDesignsLLC. I'm using several fun products from MFT for this shaker card.

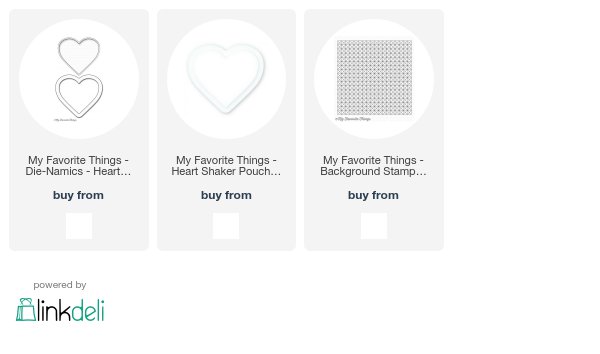
I started by using my Misti to stamp the Framework background stamp from MFT repeatedly with different colors ink ranging from red to yellow. 

I then stamped my sentiment from MFT's All Occasion Sentiments stamp set. I then took the Heart Shaker Window and Frame to die cut the red heart frame to go around the Heart Shaker Pouch, also from MFT, which I added with some clear sequins. I love how easy these pouches, along with the coordinating dies, make it to create fun shaker cards. 

And there are circles, rectangles, balloons and stars - lots of great shapes to choose from.


Shine Bright for Whimsy Stamps - A birthday Shaker Card

Thursday, March 23, 2017

Hi friends. I have a fun birthday shaker card to share with you today for Whimsy Stamps. I am using the super fun Shine Bright stamp set that was released just last week. I'm also using the Shaker Builder Sweetest Birthday die.

I started out by die cutting the Shaker Builder Sweetest Birthday die and I first focused on the interior piece. I added some Nuvo Embellishment Mousse with a round foam applicator tool all over the card stock in just a thin layer. It's hard to see here but in person, you can see the metallic shine. I then took some white pigment ink and stamped a couple of the star clusters found in the Shine Bright stamp set.  I then adhered this to my card base, making sure it was in the center. 

It was then time to work on my frame and build it up. I die cut the Shaker Builder Sweetest Birthday die a few more times, probably about 5 in total from white card stock. I also die cut it once from some white fun foam. I adhered all the layers together.

I then took some acetate and using some white Staz-on ink, I stamped one of the sentiments from the Shine Bright stamp set directly onto the acetate. I just love the look of it stamped on the acetate and how you can see the sentiment even when the sequins are being shook around inside.

I added my acetate to my frame with some more adhesive and then added one more layer of the white die cut frame to cover the adhesive that was showing from my acetate.

I added lots of sequins and seed beads from Pretty Pink Posh onto the inside panel and then added the frame on top. 

Thanks for stopping by today!


You are Loved for Clearly Whimsy Stamps

Wednesday, January 18, 2017

Happy Wednesday friends. I have a card to share with you today for Whimsy Stamps using some of the new products released last week.  

I wanted to use the fun new Valentine Assortment Sequin mix so I thought a shaker card was in order. I did want to point out that the price point on this fun new product is only $2.50 - what a steal!  

I first started by taking the largest two dies from the Hand stitched Nested Rectangle Dies and ran them through my Big Shot together to create my frame for the shaker card. I love the fun stitching detail that these dies provide. I did decide to use a light grey card stock for both the frame and the card panel for something different.

I set that aside and stamped on the front of my card base using the fabulous You Are stamp set. Don't you just love the font of the loved portion of the sentiment?  I stamped three red hearts around the sentiment from the same You Are set.

I then adhered acetate to the back of my frame and then filled the card with lots of the Valentine Sequin Assortment mix. I did want to mention that before I added the frame to my card panel, I took my anti-static powder tool and ran it around all of the sides of the foam tape so that the sequins wouldn't get stuck to the sides of the card.

Thanks so much for visiting. Crafty hugs!


CFC #157 - Shaker Cards

Thursday, September 22, 2016

We made it to another Friday -- hooray!  It also means it's time for another challenge at CAS-ual Fridays Stamps. Our challenge this time is super fun -- make a shaker card.

For my card, I started by stamping the sentiment and fun images all from the Bold Wishes stamp set. I then created the shaker portion of the card. 


Here's the challenge graphic. And remember that one winner will be chosen to win a $25 gift certificate to CAS-ual Friday Stamps and if that winner has used CAS-ual Fridays Stamps and/or dies predominantly in the winning entry, the gift certificate increases to a whopping $50!!


Here are links to my teammates blogs. I'm sure they would love it if you paid them a visit.  And a big thank you to each of you for your visit to my blog -- means the world.

Channin -- Claire --  Ilina -- Kim -- Lisa -- Wei Wei

DT Projects for TupeloDesignsLLC -- Painted Butterflies

Thursday, September 8, 2016

Hi friends. I'm back with another post for TupeloDesignsLLC. For today's cards, I am using the gorgeous Painted Butterflies stamp set and coordinating dies from Altenew.

For my first card, I started by constructing the shaker element of the card. I took the Stitched Cover-up Companion Vertical die from MFT and did some ink blending over all the pieces. When that was done, I took my Distress Sprayer and added some water droplets. I then stamped the sentiment from the Script Greetings stamp set from Right at Home. I added acetate and sequins. It was then time to stamp my butterfly from the Painted Butterflies set. After that was stamped, I used the coordinating dies to cut it out. I popped that up on the card and this card is done.


For my second card, I am just using the Painted Butterflies stamp set. I started by stamping all the butterflies where I wanted them on the card panel. The sentiment is from the same stamp set. I popped up the card panel on some foam tape to add dimension.


Note:  Some products were provided by TupeloDesignsLLC; however, all opinions are my own.

REMEMBER:  FREE SHIPPING IN THE US WITH NO MINIMUM PURCHASE


TupeloDesignsLLC DT Project -- Happy Birthday Shaker Card

Tuesday, August 2, 2016

Hi friends -- I'm thrilled to announce that I am joining Tupelo Designs LLC for the next couple months as a guest designer. Tupelo Designs LLC has lots of your favorite brands including Lawn Fawn, MFT, Altenew, Avery Elle and many, many others --  and the best part is that shipping is FREE in the US with really reasonable rates to all other areas. And did I mention that there is no minimum for this? If you haven't yet shopped there, I would urge you to click on the link above and take a peek -- you really cannot go wrong.

And if that weren't enough, there is also a loyalty program where you can earn points with each purchase. Just for signing up, you get 500 points which equals a $5 discount. Click here to learn more about the loyalty program from Tupelo Designs LLC.

There is also a great Facebook group to share ideas and projects along with a monthly challenge with a $25 gift card up for grabs to the store. Click here for the group.

For my card today, I started by taking some Bristol smooth card stock and then did some ink blending on it -- I love the way the distress inks blend on this paper.  After my ink blending was done, I took the Happy Birthday Centerpieces die from MFT and ran it through my Big Shot. I then turned the card into a shaker card by adding lots of foam tape and some fun sequins.


Click on the images below to be taken directly to the products I used from Tupelo Designs LLC on today's card.


Some product has been provided by TupeloDesigns LLC; however, all opinions are my own.

Declarations

I work with the following companies and do receive product from them to use on this blog on occasion; however, all opinions are my own and I would never promote anything or any store that I don't believe in

This Calls for Confetti


I also participate in several affiliate programs. If you click on links to those stores and make a purchase, I receive a small commission that is used in the costs of running this blog. Thank you for your support
Made With Love By The Dutch Lady Designs