Showing posts with label Cards. Show all posts

Congrats Graduation Card

Wednesday, May 13, 2020

Welcome friends. It's just about graduation time and I have a quick and easy card that would be easy to mass produce for those graduates in your life.  Just switch out the colors for whatever you need and you'll be good to go.

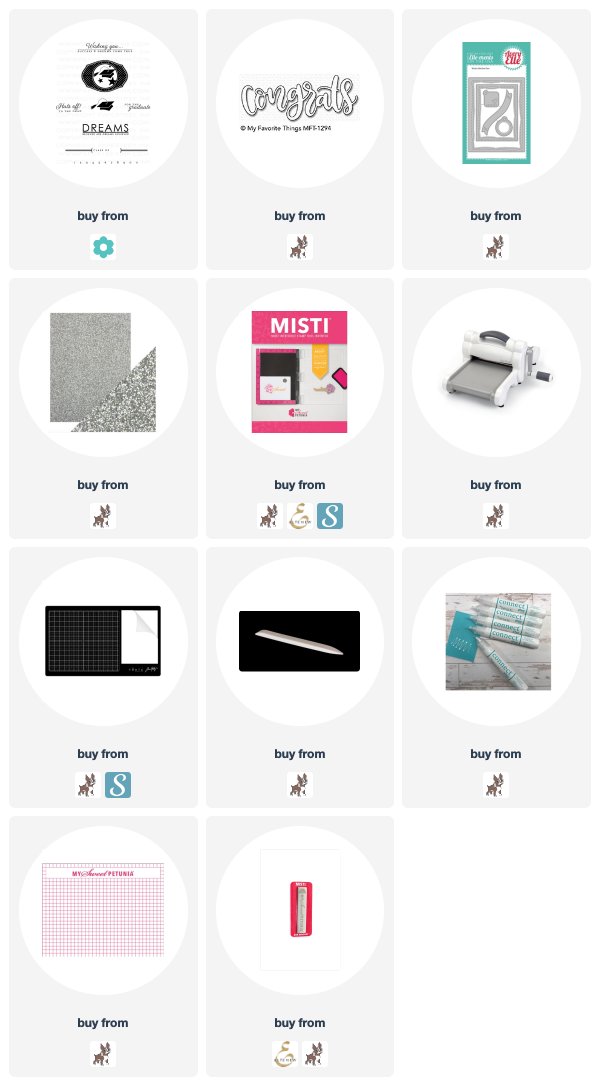
I started by die cutting a piece of white card stock using the largest die from the Wonky Stitches dies from Avery Elle.

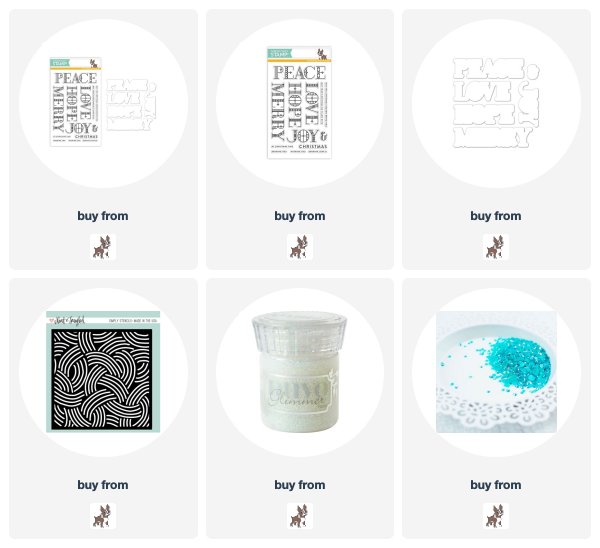
I then stamped the image onto it using my Misti so I could stamp it a couple of times. This is from Paper Trey Ink's For the Graduate set. It's a set that I've had in my stash for several years but I still love it.

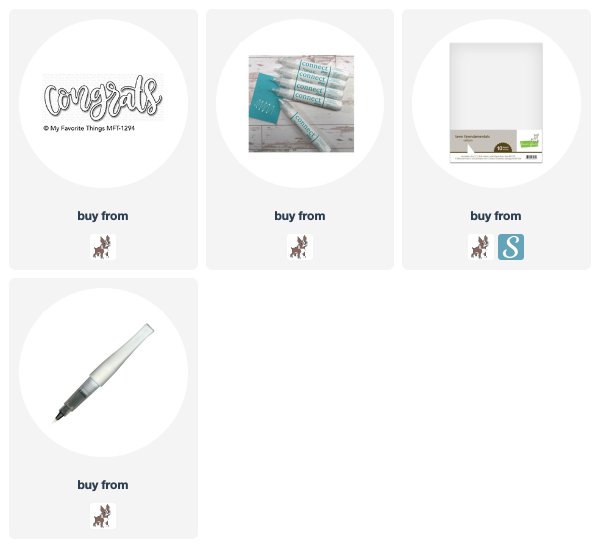
I then stamped the image that has 3 skinny lines together and then die cut the Congrats word die from MFT both out of navy card stock and silver glitter card stock.  I offset the die cut sentiments to add a bit of a shadow effect.

I mounted the entire panel onto a piece of navy card stock and adhered it to my top folding white card base.

Thanks as always for your visit.  Crafty hugs! ~ Alanna


***Affiliate links used for some products at no additional cost to you. Thanks for your support in running this blog***

Hello Sunshine for Whimsy Stamps

Wednesday, March 18, 2020

Hi friends. I'm back today with a card featuring lots of great products from Whimsy Stamps. With all of the crazy currently going on in the world, thinking of the ocean and beach is where my mind goes to help ground me.   

For my card, I started by stamping the fun wave image from the Splash set onto the bottom of some light blue card stock.

I then stamped the dolphin and sentiments, which are from the same Splash set, with some grey ink.  I die cut this panel with the largest die from the Card Builder Windows die collection.

I then die cut some clouds and the stitched sun from the Up in the Clouds die collection.  I added some color to the sun with some yellow ink and a blending tool.  I popped it up with some foam tape.  I adhered the panel to the same color light blue card stock and my card is complete.

Thanks for stopping by. I hope you are having a great day and stay well. Crafty hugs! ~ Alanna


***Affiliate links used for some products at no additional cost to you. Thanks for your support in running this blog***

Happy Easter for Whimsy Stamps

Friday, March 13, 2020

Hi friends and welcome back to my blog today. I have a fun card to share with you using fun dies from Whimsy Stamps along with a couple of other products from the Whimsy Stamps store. I am also playing along with this week's Fresh Friday feature on the Whimsy blog. Make sure to check it out.  

To get started, I took a piece of Tim Holtz Distress Woodgrain card stock and added some ink through using the Farmhouse Greenery stencil.

I then used my Misti so I could stamp my sentiment, from the Happy Sayings set, a few times, since I was stamping onto textured card stock.

I then got to work by die cutting several of the components from the Build-a-Basket die collection.  I adhered the various die cut elements to the card, adding foam tape to some for added dimension.

And that's all there is to this fun Easter card featuring lots of die cuts.

Thanks for your visit.  Crafty hugs! ~ Alanna


***Affiliate links used for some products at no additional cost to you. Thanks for your support in running this blog***

A Colorful Pet Sympathy Card

Monday, March 2, 2020

Hi friends. I have another pet sympathy card to share with you today. Whimsy Stamps has a ton of stamps perfect for this need. Click here to see their entire lineup of rainbow bridge and pet sympathy stamps.

For my card today, I started by taking the cute string heart image from the Fill my Heart set and I stamped it repeatedly across my card panel in various colors of ink.  I wanted a bright and happy card.

After my hearts were stamped, I took my Misti and stamped the sentiment which is from the same Fill my Heart set in black ink.  I then stamped a few of the pawprint images, from the same set.

I decided to make this a square card measuring 4.25 x 4.25 inches so I trimmed my panel down, matted it on some black card stock and adhered it to a top folding card base.

I also decided to stamp on the inside of my card. The sentiment on the inside is from the same Fill my Heart set. I added a red pawprint for just a pop of color.

While I don't love that I have to send these types of cards out, I do love how this card came out.

Thanks so much for visiting today. Crafty hugs! ~ Alanna


***Affiliate links used for some products at no additional cost to you. Thanks for your support in running this blog***

2 Good Luck Cards

Friday, January 24, 2020

Hi friends and welcome back to my blog. I hope you have had a good week. Yay for it being Friday today.

I have two good luck cards to share with you today.  I needed a couple of these earlier last year and am just now getting around to sharing them here.  I do love how they both turned out.

For my first card, I started by die cutting a piece of white card stock using the largest die from Avery Elle's Wonky Stitches die collection. I use this die so much as I just love the fun stitching detail it gives.

I then took the Sunrise Radiating Rays stencil from MFT and blended on just a bit of soft yellow ink.  I stamped the good luck sentiment which is from the Great Things set from CZ Design.  I used the coordinating dies to cut it out.  I figured out where I wanted this to go on my card and then took one of the smaller sentiments, also from the Great Things set, and stamped it with black ink. I then adhered the good luck sentiment which I had also die cut a couple of more times from white card stock so it would be a bit more substantial.

I matted this onto a piece of black card stock and adhered it to a top folding white card base.

For my second card, I took the same die from the Wonky Stitches and die cut my focal panel.  I then took the Radiant stencil from Simon Says Stamp and blended on some light pink ink.

I then decided to add a bit of Moonstone Glitter Paste over top of the stencil, but just in the center portion.

I stamped the supporting sentiment from the Great Things set and then stamped the good luck onto its coordinating die cut, like I did in the first card.  This time, however, I coated it with a bit of Glossy Accents, to give it a fun look.

***Affiliate links used for some products at no additional cost to you. Thanks for your support in running this blog***

A Friend Shaker card with Alcohol Inks

Monday, January 20, 2020

Hi friends and welcome back to another blog post today. I certainly do appreciate you stopping by.  For my card today, I have a fun shaker card using stamps and dies from Whimsy Stamps along with a fun alcohol inked background.

To get started, I took some Yupo paper and added several colors of alcohol inks over top of it. I tried to keep things in a rainbow order.  I love the look of alcohol inked backgrounds and how fun they are to create. 

After my background was complete, I set it aside.  I stamped out the Friend word which is from the You're Too Kind set. I then used the coordinating Friend Word & Shadow dies to cut it out and to cut a shadow of the word to help it stand out even more.

I then took my alcohol inked panel and die cut it using the Peekaboo Window 2 die from Whimsy Stamps.  I added acetate to the back of it and created it into a shaker.  Some small confetti bitts were added to each of the inner portions.  

I added my stamped and die cut word in the center section and my card is complete.

Thank you so much for your visit today. It means the world. Crafty hugs! ~ Alanna


***Affiliate links used for some products at no additional cost to you. Thanks for your support in running this blog***

Galaxy Background for Whimsy Stamps

Friday, January 10, 2020

Hi friends. Thanks for dropping by my blog today.  I have a simple card to share with you today featuring a fun background stamp from Whimsy Stamps along with another great set.

I started by adding some Distress Inks to a piece of Bristol Smooth paper. I then took the Galaxy Galore background image from Whimsy Stamps and with the help of my Misti, stamped it a couple of times onto my background.  I think this is such a fun image.

I then took a piece of vellum that was adhesive backed, which I've had in my stash forever, and stamped one of the sentiments from the Wish Upon a Star set onto it.  I removed the adhesive from the back of the stamped vellum piece and adhered it directly over top of my background.  I thought this sentiment paired perfectly with the background image.

Since the vellum had adhesive over the entire back of it, there was no worry about any adhesive showing through the vellum. I also love how the background still shows through the stamped vellum panel, so you aren't losing any of that.

Here's a closeup of the sentiment and how you can still see through to the background colors and stamping.

That's all I have for you today. I hope your week is going well.  Crafty hugs! ~ Alanna

***Affiliate links used for some products at no additional cost to you. Thanks for your support in running this blog***

Embossed Christmas Greetings

Monday, December 23, 2019

Hi friends. I'm back with another Christmas card and this one uses a fun stamp from Concord & 9th, the Deck the Halls Turnabout.

I started by stamping the image 3 of the turns using gold embossing powder. I then turned it the last time and heat embossed it with red embossing powder for a bit of pop and contrast.

I absolutely love how this panel turned out.  I die cut it using the large scalloped rectangle die from the Sunshine Layers die collection from WPlus9.  A simple stamped sentiment from MFT's Snowglobe Sentiments set popped up with foam tape finishes off the card.

Thanks so much for your visit today. I really appreciate it. Crafty hugs! ~ Alanna


***Affiliate links used for some products at no additional cost to you. Thanks for your support in running this blog***

Merry & Bright

Wednesday, December 11, 2019

Hi friends. I am thrilled with how my card came out today and can't wait to share it with you.

I started by taking the Ornamental stamp set from Concord & 9th and heat embossing the outer images in gold embossing powder. I then took the sentiment and nestled it right inside the images and heat embossed it with red embossing powder. I love how this set was designed.

For my ornament topper, I added some Versamark ink on top of a piece of blank card stock and then used the same embossing powder as I did for the images to heat emboss. I then took the ornament topper die from the coordinating Ornamental die collection and die cut it out. I love how it perfectly matches my other heat embossed images.

I also die cut the ornament using the coordinating dies and then took a piece of Red Berries specialty paper from Tonic Studios and adhere it to my card base.  I added a bit of gold thread and adhered one end of it to the back of my background panel and taped down the other end just below the ornament topper portion. Lastly, I adhered my ornament to the card panel with some foam tape.

I hope you've been inspired by today's card. Thanks so much for your visit.  Crafty hugs! ~ Alanna


***Affiliate links used for some products at no additional cost to you. Thanks for your support in running this blog***

2 Cards with Altenew Washi Tape

Friday, November 15, 2019

Hi friends. I'm back today with two easy cards featuring products from Altenew. Both cards use the gorgeous Painted Fantasy washi tape. I love the pattern to this washi tape and that it is wide enough to cover an entire card front.

For my first card, I added the You are Loved die cut which I die cut a couple of times with black card stock and then once with a lavender color, slightly offsetting them for a bit of shadow and dimension. I finished this card off with some sparkling clear sequins.


For my second card, I used the same Painted Fantasy washi tape and this time, I used the Besties stamp set from CZ Design and stamped the friend sentiment. I then took the coordinating die to die cut it out. Some twine and sparkling clear sequins finish this card off.


***Affiliate links used for some products at no additional cost to you. Thanks for your support in running this blog***

Floral Heart with Neat & Tangled

Tuesday, November 12, 2019

Hi friends. Thanks so much for joining me today. I have a fun card to share with you today using some goodies from Neat & Tangled.

I started by using the Hexastar cover plate die and instead of die cutting it, I ran it through my Big Shot using an embossing pad. I love that you can extend the life of your dies by using them to emboss, rather than cut.

After my panel was embossed, I die cut it using a stitched rectangle die.

I then got to work on stamping, coloring and die cutting the focal point which is from the Floral Heart set from Neat & Tangled. I love the soft feel to this image and how easy it was to color.

I die cut the wreath two more times just out of white card stock to layer behind my stamped wreath for a bit of extra dimension.  I finished off the card with some sparkling clear sequins.

Thanks for your visit. Crafty hugs! ~ Alanna


***Affiliate links used for some products at no additional cost to you. Thanks for your support in running this blog***

Merry Christmas

Thursday, November 7, 2019

Hi friends. I'm super excited to share my card with you today as I absolutely love it.  I'm not sure if it is the colors or the texture or sparkle but whatever it is, I just love it.

I started out by taking the Swirly Twirly stencil from Neat & Tangled and adding some Nuvo Moonstone Glitter Paste over it.  I then set it aside to dry.

I stamped the merry portion of the sentiment which is from Simon Says Stamp's Stained Glass Greetings set.  I then used the coordinating dies to cut it out.  I just love the polished look this gives to the stamped sentiment.

I stamped the word Christmas, also from the Stained Glass Greetings set, onto a thin strip of white card stock.  My card was finished off with some light blue gems.


I hope you are having a terrific day. Thanks for stopping by.  Crafty hugs! ~ Alanna


***Affiliate links used for some products at no additional cost to you. Thanks for your support in running this blog***

2 Alcohol Inked Backgrounds with Florals for LDRS Creative

Wednesday, October 16, 2019

Hi friends. I realized I never shared these two cards that were previously up on the LDRS Creative blog.

For both cards, I started out by taking some various colors of alcohol inks and adding them to Yupo paper to get a fun background.

I then stamped and die cut the floral images which are from the Love and Smell the Roses and If Friends Were Flowers sets.  I decided to leave them uncolored as to not detract from the pretty backgrounds.

I added them to the cards with foam tape and then stamped the sentiments which are from the Love and Smell the Roses set.

Here is a photo of both the cards together.  Individual photos are shown below.


As always, I truly appreciate you stopping by today and taking a look at my cards. It means the world. Crafty hugs! ~ Alanna


***Affiliate links used for some products at no additional cost to you. Thanks for your support in running this blog***

Congrats - A Baby Girl Card

Monday, October 7, 2019

Hi friends. I'm back today with a simple baby card that was super easy to make. 

I started by adhering two pieces of patterned paper from my stash and layering them over my card base. I then die cut the Congrats word from MFT several times out of white card stock.

I adhered all the die cuts together to make my sentiment more substantial. I used liquid glue to adhered it to a piece of vellum.

I then added some more liquid glue to the back side of the vellum just underneath the sentiment.

As a finishing touch, I added some clear Wink of Stella over the die cut.

Thanks for stopping by today. Crafty hugs!


***Affiliate links used for some products at no additional cost to you. Thanks for your support in running this blog***

2 for 1 Cards using Alcohol Lift Ink

Monday, September 16, 2019

Hi friends. I'm happy to be back sharing two cards I made awhile back using the Alcohol Lift Ink from Ranger.  I love using this product as it allows you to get two cards for one.

For my first card, I started by taking a piece of Yupo paper and added various shades of blue alcohol inks onto it.  After it was dry, I stamped the gorgeous large floral cluster from the Glorious Bouquet set from Tim Holtz onto the panel using my Misti and the Alcohol Lift Ink. 

I then took a piece of paper towel and very carefully blotted the panel.  After most of the ink was up, I took the paper towel and went in tiny circles to buff the image a bit.

This card was finished with a stamped sentiment from the same set. I also added a few gems.

For my second card, after I was done stamping my first card, I took a piece of white card stock and stamped the image again. What you see below is all of the alcohol ink that the Lift Off ink removed from the Yupo paper above.

Aren't the results incredible? I just love it so much. 

I decided I wanted a bit of bold color on either side of my stamped panel so I took an ink pad and took it directly to the card base on either side to build up some deep color.

I stamped the sentiment and added some clear sequins on this card.

Thanks for stopping by today. I hope you've been inspired. Crafty hugs!


***Affiliate links used for some products at no additional cost to you. Thanks for your support in running this blog***

Declarations

I work with the following companies and do receive product from them to use on this blog on occasion; however, all opinions are my own and I would never promote anything or any store that I don't believe in

This Calls for Confetti


I also participate in several affiliate programs. If you click on links to those stores and make a purchase, I receive a small commission that is used in the costs of running this blog. Thank you for your support
Made With Love By The Dutch Lady Designs