Showing posts with label Simon Says Stamp. Show all posts

Whimsy Stamps & Stamptember - Just Chickin In

Sunday, September 12, 2021

Hi friends. I'm excited to be participating today in the Stamptember event today where the collaboration set of the day is with Whimsy Stamps. Whimsy Stamps has come up with the cutest set - Just Chickin In. You can purchase just the stamp set or it can also be purchased with the coordinating dies here.

It is a limited edition stamp set and these exclusive sets don't last more than a day or two so if you like it, don't wait to get it.


For my card, I knew I wanted to use the awesome Slimline Chicken Coop die set from Whimsy Stamps that was released a few months ago. I die cut the main portion of the die from this dark brown woodgrain card stock. I die cut the chicken wire portion from some silver mirror card stock. 

I love that the die set includes the top long piece of the coop so you can cut that from a different color of card stock. I cut mine in black and it also has the great embossed detail. I stamped, colored, and fussy cut out my images and then got to work on assembling my card. 

I started by figuring out where the back portion of the coop needed to be on my card base. I then added two of the haystacks from the Slimline Chicken Coop die set that I had colored and then added two of the chickens to it. I then added black foam tape to the back of my chicken coop. I added it to the card base lining it up with the back of the coop.  

I added the other images on top of the coop and added an embossed sentiment which is from the Just Chickin In set. I decided the card needed something else so I die cut the pitchfork from the Slimline Chicken Coop die set and that completes the card.


I absolutely love how this card came together and had a ton of fun playing with the Slimline Chicken Coop die set. It is a match made in heaven with the new Just Chickin In set.

Wishing you a wonderful day. Crafty hugs! ~ Alanna


***Affiliate links used for some products at no additional cost to you. Thanks for your support in running this blog***
Mama to Mama

Tuesday, July 7, 2020

Hi friends and welcome back to my blog. Today, I have a clean and simple card to share with you today that was created in just minutes.

I started by die cutting one of the papers from the Inky Antics paper collection from Paper Rose with the largest die from the Wonky Stitches die collection from Avery Elle. It looks like this die collection has been discontinued but you can achieve a very similar look with these dies from Whimsy Stamps.

Let's get back to that Inky Antics paper collection I mentioned above. I absolutely adore this because it gives the look of alcohol inks but without any of the mess or fuss.

I then stamped the main sentiment which is from the Good Job Mama set from CZ Design. I used the coordinating dies to cut it out. I also die cut it 3 more times so I could glue it all together for added dimension.  I stamped the supporting sentiment which is from the same Good Job Mama stamp set and then adhered my stamped and die cut sentiment and this card is complete.

I just love this set so much and how easy it makes to send a quick encouragement card to a fellow mama because we all know it can be extra challenging on days.

I hope you are all doing well and staying safe and healthy. Crafty hugs! ~ Alanna


***Affiliate links used for some products at no additional cost to you. Thanks for your support in running this blog***

You are the Sweetest

Friday, July 3, 2020

Hi friends. I hope this finds you doing well. I wanted to play with the Lined You die from Simon Says Stamp that I've had in my stash for awhile. I think this is such a fun die and love the look it provides. 

I started by adhering some older paper from my stash onto my cream card base.  I then took the Lined You die and cut both layers of and then adhered them together.

I stamped the smaller sentiment onto some cream card stock. It is from the More Essentials Sentiments stamp set from MFT. This set is a great one to have in your stash as it covers so many occasions and the simple font works with so many card types.

I added the die cut sentiment directly onto the card base and then added my stamped sentiment up with some foam tape and this simple card is complete. 

If you are like me and have a ton of patterned paper in your stash, this design would be a great one to use some of it up. 

Thanks for visiting. Crafty hugs! ~ Alanna


***Affiliate links used for some products at no additional cost to you. Thanks for your support in running this blog***

Spring Tulips

Thursday, June 18, 2020

Hi friends. I hope this finds each of you safe and healthy.  I recently acquired the gorgeous Layered Tulips set from Simon Says Stamp. Tulips are hands down my favorite flower so this set had to come live with me.

I love how easy it is to create a line up of tulips with shading and depth.  I have 3 different variations with you. I just mixed up the colors and sentiments. The sentiments are from sets in my stash.


Thanks
Thanks for stopping by today. I truly appreciate it. Crafty hugs! ~ Alanna


***Affiliate links used for some products at no additional cost to you. Thanks for your support in running this blog***

2 Good Luck Cards

Friday, January 24, 2020

Hi friends and welcome back to my blog. I hope you have had a good week. Yay for it being Friday today.

I have two good luck cards to share with you today.  I needed a couple of these earlier last year and am just now getting around to sharing them here.  I do love how they both turned out.

For my first card, I started by die cutting a piece of white card stock using the largest die from Avery Elle's Wonky Stitches die collection. I use this die so much as I just love the fun stitching detail it gives.

I then took the Sunrise Radiating Rays stencil from MFT and blended on just a bit of soft yellow ink.  I stamped the good luck sentiment which is from the Great Things set from CZ Design.  I used the coordinating dies to cut it out.  I figured out where I wanted this to go on my card and then took one of the smaller sentiments, also from the Great Things set, and stamped it with black ink. I then adhered the good luck sentiment which I had also die cut a couple of more times from white card stock so it would be a bit more substantial.

I matted this onto a piece of black card stock and adhered it to a top folding white card base.

For my second card, I took the same die from the Wonky Stitches and die cut my focal panel.  I then took the Radiant stencil from Simon Says Stamp and blended on some light pink ink.

I then decided to add a bit of Moonstone Glitter Paste over top of the stencil, but just in the center portion.

I stamped the supporting sentiment from the Great Things set and then stamped the good luck onto its coordinating die cut, like I did in the first card.  This time, however, I coated it with a bit of Glossy Accents, to give it a fun look.

***Affiliate links used for some products at no additional cost to you. Thanks for your support in running this blog***

2 Cards with Altenew Washi Tape

Friday, November 15, 2019

Hi friends. I'm back today with two easy cards featuring products from Altenew. Both cards use the gorgeous Painted Fantasy washi tape. I love the pattern to this washi tape and that it is wide enough to cover an entire card front.

For my first card, I added the You are Loved die cut which I die cut a couple of times with black card stock and then once with a lavender color, slightly offsetting them for a bit of shadow and dimension. I finished this card off with some sparkling clear sequins.


For my second card, I used the same Painted Fantasy washi tape and this time, I used the Besties stamp set from CZ Design and stamped the friend sentiment. I then took the coordinating die to die cut it out. Some twine and sparkling clear sequins finish this card off.


***Affiliate links used for some products at no additional cost to you. Thanks for your support in running this blog***

Merry Christmas

Thursday, November 7, 2019

Hi friends. I'm super excited to share my card with you today as I absolutely love it.  I'm not sure if it is the colors or the texture or sparkle but whatever it is, I just love it.

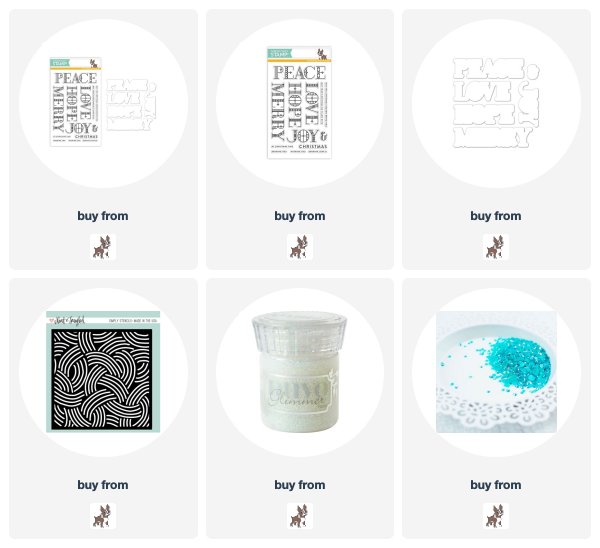
I started out by taking the Swirly Twirly stencil from Neat & Tangled and adding some Nuvo Moonstone Glitter Paste over it.  I then set it aside to dry.

I stamped the merry portion of the sentiment which is from Simon Says Stamp's Stained Glass Greetings set.  I then used the coordinating dies to cut it out.  I just love the polished look this gives to the stamped sentiment.

I stamped the word Christmas, also from the Stained Glass Greetings set, onto a thin strip of white card stock.  My card was finished off with some light blue gems.


I hope you are having a terrific day. Thanks for stopping by.  Crafty hugs! ~ Alanna


***Affiliate links used for some products at no additional cost to you. Thanks for your support in running this blog***

Hugs with Simon Says Stamp

Thursday, January 18, 2018

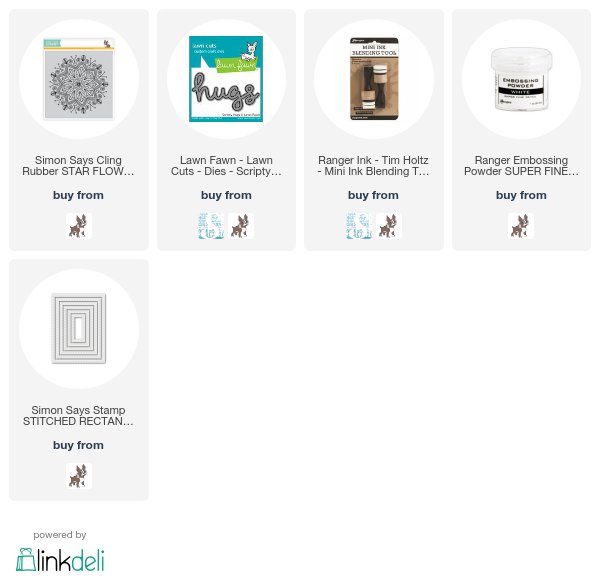
My card today uses one of Simon Says Stamp's beautiful rubber background images that they came out with several months ago. The one I used is the Star Flower background. I knew I wanted to heat emboss the image and then do some ink blending over it.

So, that's what I did. I heat embossed it in white and then blended on some soft colors of Distress inks over top of it.  I die several of the hugs words and stacked them together for a more dimensional sentiment. I added some Nuvo Drops (which match better in real life than they do in the photo).

And there you have it - a quick and easy card. Crafty hugs!


***Affiliate links used for some products at no additional cost to you. Thanks for your support in running this blog***

2 cards with SSS

Monday, December 18, 2017

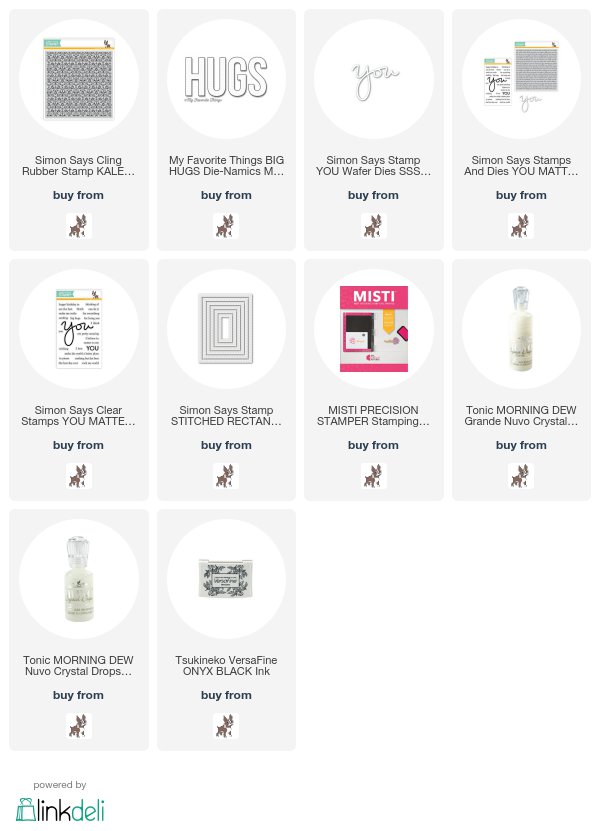
Hi friends. I have 2 fun cards to share with you today primarily using some SSS stamps and dies.  For my first card, I started by stamping my background with the gorgeous Kaleidoscope background stamp. I used Copic friendly ink for this because after my panel was completely dry, I went in with various Copic markers in rainbow order and just scribbled on some color. 

Once my panel was done, I ran it through my Big Shot with a die from MFT.  I then ran the die 3 more times with black card stock. I inlaid the first die and then stacked the others, finishing with my original die cut from the stamped and inked panel.  As a finishing touch, I added some Morning Dew Crystal Drops from Tonic Studios.


For my second card today, I used the same background as above. This time, I just added in some marker to some of the areas. I love that I used the same background but was able to get such different results due to the techniques used.

I then die cut the you die cut 4 times, once out of red card stock and then three times out of white. I stacked them together for added dimension, offsetting the white ones just slightly to add for a shadow effect.  I heat embossed the sentiment and the card is complete.

Thank you so much for joining me today. I hope you are having a wonderful day and week.  Crafty hugs!


***Affiliate links used for some products at no additional cost to you. Thanks for your support in running this blog***

Sending you Love & Hugs

Monday, February 13, 2017

Happy Monday friends. I have a card to share today that I made a few of to send out for Valentine's Day. 

I started by using my Clarity stencil brushes to blend on some red ink using the heart stencil. I then took the entire panel and spritzed it with some glitter spray. I stamped the sentiments and then die cut the panel with my Avery Elle Wonky Stitches die. Some red heart enamel shapes finish off the card.


***Affiliate links used for some products at no additional cost to you. Thanks for your support in running this blog***


Thanks for visiting. Crafty hugs!

A floral Hello

Sunday, March 20, 2016

I had fun with a large background stamp and my Misti for today's card. I stamped my image with three different shades of green ink using my Misti.  I then die cut a vellum leaf and added my die cut sentiment over top of it. Some sparkling clear sequins finish off the card.

As always friends, I truly appreciate you stopping by. Crafty hugs!


Declarations

I work with the following companies and do receive product from them to use on this blog on occasion; however, all opinions are my own and I would never promote anything or any store that I don't believe in

This Calls for Confetti


I also participate in several affiliate programs. If you click on links to those stores and make a purchase, I receive a small commission that is used in the costs of running this blog. Thank you for your support
Made With Love By The Dutch Lady Designs