Showing posts with label Alcohol Inks. Show all posts

A Friend Shaker card with Alcohol Inks

Monday, January 20, 2020

Hi friends and welcome back to another blog post today. I certainly do appreciate you stopping by.  For my card today, I have a fun shaker card using stamps and dies from Whimsy Stamps along with a fun alcohol inked background.

To get started, I took some Yupo paper and added several colors of alcohol inks over top of it. I tried to keep things in a rainbow order.  I love the look of alcohol inked backgrounds and how fun they are to create. 

After my background was complete, I set it aside.  I stamped out the Friend word which is from the You're Too Kind set. I then used the coordinating Friend Word & Shadow dies to cut it out and to cut a shadow of the word to help it stand out even more.

I then took my alcohol inked panel and die cut it using the Peekaboo Window 2 die from Whimsy Stamps.  I added acetate to the back of it and created it into a shaker.  Some small confetti bitts were added to each of the inner portions.  

I added my stamped and die cut word in the center section and my card is complete.

Thank you so much for your visit today. It means the world. Crafty hugs! ~ Alanna


***Affiliate links used for some products at no additional cost to you. Thanks for your support in running this blog***

2 Alcohol Inked Backgrounds with Florals for LDRS Creative

Wednesday, October 16, 2019

Hi friends. I realized I never shared these two cards that were previously up on the LDRS Creative blog.

For both cards, I started out by taking some various colors of alcohol inks and adding them to Yupo paper to get a fun background.

I then stamped and die cut the floral images which are from the Love and Smell the Roses and If Friends Were Flowers sets.  I decided to leave them uncolored as to not detract from the pretty backgrounds.

I added them to the cards with foam tape and then stamped the sentiments which are from the Love and Smell the Roses set.

Here is a photo of both the cards together.  Individual photos are shown below.


As always, I truly appreciate you stopping by today and taking a look at my cards. It means the world. Crafty hugs! ~ Alanna


***Affiliate links used for some products at no additional cost to you. Thanks for your support in running this blog***

2 for 1 Cards using Alcohol Lift Ink

Monday, September 16, 2019

Hi friends. I'm happy to be back sharing two cards I made awhile back using the Alcohol Lift Ink from Ranger.  I love using this product as it allows you to get two cards for one.

For my first card, I started by taking a piece of Yupo paper and added various shades of blue alcohol inks onto it.  After it was dry, I stamped the gorgeous large floral cluster from the Glorious Bouquet set from Tim Holtz onto the panel using my Misti and the Alcohol Lift Ink. 

I then took a piece of paper towel and very carefully blotted the panel.  After most of the ink was up, I took the paper towel and went in tiny circles to buff the image a bit.

This card was finished with a stamped sentiment from the same set. I also added a few gems.

For my second card, after I was done stamping my first card, I took a piece of white card stock and stamped the image again. What you see below is all of the alcohol ink that the Lift Off ink removed from the Yupo paper above.

Aren't the results incredible? I just love it so much. 

I decided I wanted a bit of bold color on either side of my stamped panel so I took an ink pad and took it directly to the card base on either side to build up some deep color.

I stamped the sentiment and added some clear sequins on this card.

Thanks for stopping by today. I hope you've been inspired. Crafty hugs!


***Affiliate links used for some products at no additional cost to you. Thanks for your support in running this blog***

Happy Birthday with Alcohol Inks and Glitter Paste

Monday, February 11, 2019

Hi friends. I'm so glad you stopped by today. I have a fun card for Whimsy Stamps featuring an alcohol inked background, a stencil and some glitter paste.

I started out by creating my alcohol inked background by using some Yupo paper and a couple shades of purple alcohol inks.

Once the panel was dry, I used a palette knife to spread some glitter paste over the Teardrop Splash stencil from Whimsy Stamps.

I set this aside to dry and then got to work on the sentiment portion of my card. I die cut the Happy Large Word die several times from white card stock. I then die cut it once out of some silver mirror card stock.

I adhered this to my card panel and then added the stamped sentiment which is from the hilarious Old Geezer set.. Some jewels finish off this fun card.

Thanks for stopping by today. Crafty hugs!


***Affiliate links used for some products at no additional cost to you. Thanks for your support in running this blog***

Warm Winter Wishes with Alcohol Inked Backgrounds

Friday, January 11, 2019

 Hi friends and happy Friday. I hope you have had a good week so far.  I have two cards to share with you today using fun products from Whimsy Stamps and some alcohol inks.

I began by creating my backgrounds on some Yupo paper with various shades of blue and purple alcohol inks. I absolutely love these backgrounds so much and just how fun it is to sit and create them.

After my panels were dry, I took the Snow Dangle stencil and laid it over my panel. For my first card, I used some silver glitter paste and adhered it over the stencil.

I finished off the card with a die cut snowflake (a retired die from Whimsy Stamps) along with a sentiment from the Holiday Mini Sentiments set.  I die cut it using one of the dies from the brand new Quick Strips die collection.


My second card is absolutely the same except that I used the Moonstone Glitter Paste from Tonic.


A big thank you for stopping by today. I hope you've been inspired. Crafty hugs!


***Affiliate links used for some products at no additional cost to you. Thanks for your support in running this blog***

Alcohol Inks with LDRS Creative

Sunday, December 9, 2018

Hi friends. Can you believe we are just two weeks away from the big holiday? If you are like me, you are running behind on all the things. I am still working on a few Christmas cards to mail out and have one today to share with you featuring all die cuts along with a fun alcohol inked background.

For my card today, I am using the Christmas word die and the Grace ornament die from LDRS Creative.

I love that the ornament die comes with two pieces, one for the solid portion of the ornament and then one with the decorative inside portion.

I started my card by creating my background using some Yupo paper and alcohol inks.  I wanted to go with a somewhat non-traditional color scheme so I chose greens and blues.

I then die cut the Grace Ornament die twice and adhered the detail portion to the solid background portion of the die. I adhered one of them directly to my card panel with liquid glue and used some thin foam glue dots to give the other one a bit of lift.

TIP:  Use a black marker to draw ornament hangers coming down from the top of the card.


It was now time to get started on my sentiment. I chose the gorgeous Christmas word die. I die cut it twice, once from black card stock to give a bit of a shadow look and once from a green glitter piece of card stock. I adhered this to my card and my card is now complete.

Here's a closeup of the shine on my ornaments courtesy of some gorgeous glitter paper. 


And here's a final look at my card. I hope you've been inspired. Crafty hugs!


***Affiliate links used for some products at no additional cost to you. Thanks for your support in running this blog***

Fun with Alcohol inks, Felt and Die Cuts

Tuesday, September 11, 2018

Hi friends. I am super excited to be sharing a fun project with you here and on the LDRS Creative blog today.

For my card today, I thought I would do a bit of alcohol ink blending with some foil bits added to my background. I absolutely love the feel and texture of this panel.


After my panel was complete, I ran it through my die cutting machine with the largest die from the Sunburst Rectangle die collection. This die is absolutely so much fun because it creates such a fun pattern.


I also ran the Sunburst Rectangle die again through my machine with 3 pieces of plain white card stock. I did this so that my card would have a bit of dimension without having to add small bits of foam tape behind all of the circles.

I simply adhered all the die cuts together with liquid glue and then added my alcohol inked piece on the top.


It is now time to start embellishing my card. I wanted to pull out the super fun Fancy Flower dies. I love the fun shapes of these and that you get solid flowers as well as ones with some designs cut into them so you can achieve a great layering affect.

I also decided it would be fun to create the leaf die cuts out of some felt for added texture and dimension.

I added a gold heat embossed sentiment that is from the Happy Fall stamp set released a couple of weeks ago. I absolutely adore this sentiment and can't wait to make more cards using it to send to friends and family.


Thanks for visiting and crafty hugs!


***Affiliate links used for some products at no additional cost to you. Thanks for your support in running this blog***

3 cards with the Flower Puffs Background for Whimsy Stamps

Friday, July 27, 2018

Hi friends. I have 3 cards to share with you today, all using the gorgeous Flower Puffs Background stamp from Whimsy Stamps. This is a beautiful 6x6 large rubber background with the most gorgeous blooms and it is perfect with so many coloring mediums.

For my first card, I made an alcohol ink background with various shades of reds, pinks and purples. I then heat embossed the Flower Puffs Background image onto my background, making sure it was completely dry.

I will mention that the Yupo paper which my background is on did want to curl and bend up with the heat embossing. This was attempt 2. I only applied the heat for a couple of seconds at a time, took the heat gun off, and then repeated this process. This left me with a panel that I could use and I absolutely love the way this turned out.

I finished off the card by stamping one of the sentiments from the Beaucoup Bouquet Sentiments stamp set onto a piece of red card stock that I die cut with one of the dies from the Card Builders Windows die collection.


For my second card today, I stamped the Flower Puffs Background onto a piece of white card stock. I then used the Bold ABC's die collection to spell out the word Thanks. I added each of the letters to some low tack tape to keep them together and then ran this through my Big Shot directly into my panel. 

I then ran the letter dies through my machine 4 more times. I colored the very first layer with a few Copic Markers (which Whimsy Stamps carries for a really great price) that I had cut out and stacked all the letters for an eclipse type card.

For my last card today, I started by stamping the Flower Puffs Background onto some water color card stock. This time, I colored the images by just scribbling some of my Zig Clean Color Real Brush Markers onto the panel. I then spritzed it with water and let it dry. I love the soft feeling of the watercolor.

I then did the same thing I did above with the Bold ABC dies but this time lined my letters up on two lines. I die cut my panel and then used the dies to die cut a piece of white fun foam to achieve the extra dimension.

I adhered the letters back on and that finishes off this eclipse/hidden sentiment card.


I hope I've inspired you to create with your background images. Crafty hugs!


3 Cards with the July Paper Door Kit from Whimsy Stamps - 2 DAYS LEFT TO ORDER

Monday, July 23, 2018

Hi friends. Have you all seen the latest Paper Door kit from Whimsy Stamps? If you are not familiar with the new Paper Door kits from Whimsy Stamps, I've listed all the details below.  

The kit is available to purchase each month between the 10th and the 24th. There is no subscription needed. You simply order on the months that you want to. Easy as that.

I absolutely love the stamp set in this kit and that it comes with the coordinating dies. Since this girl doesn't like to fussy cut, this is a huge selling point for me. You also get a full container of embossing powder, mini ink cubes, papers and much more.

The July's Beaucoup Bouquet Kit contains the following:

  • EXCLUSIVE hand chosen 6x6 specialty cardstock/paper collections that aren’t available anywhere else. There are 24 gorgeous sheets of 6x6 papers in different colors and textures selected to coordinate together beautifully. Included are 3 each of 8 different papers.
  • Included are SIX sheets of 8.5x11 heavy weight NEUTRAL card stock in White and Black to make multiple card bases, mattes, and more. 
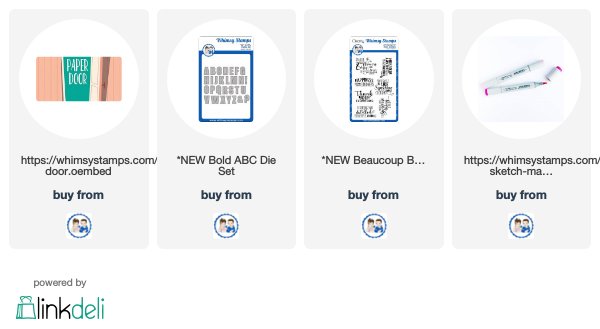
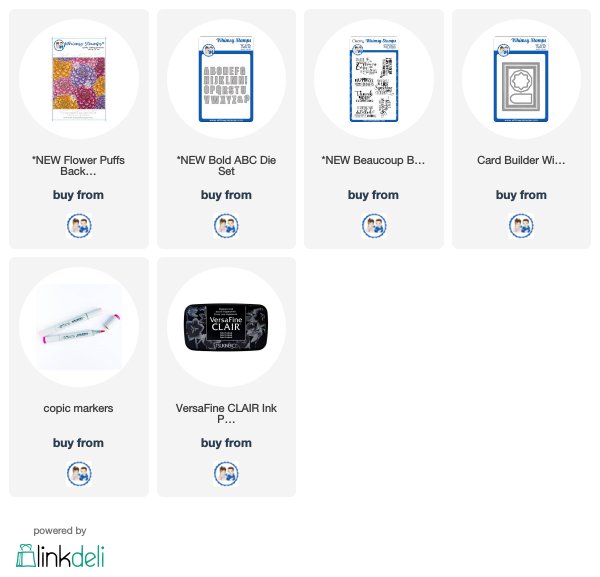
  • SPECIAL EDITION 4x6 clear stamp set "Beaucoup Bouquet" has been created exclusively for PAPER DOOR.
  • SPECIAL EDITION coordinating Whimsy Shapeology Die Set "Beaucoup Bouquet Die Set".
  • PREMIUM QUALITY Ranger White Embossing Powder and a size 4 paintbrush for watercoloring.
  • COORDINATING Distress Ink Cubes in Mermaid Lagoon, Mustard Seed and Spiced Marmalade.
  • NEWLY designed digital papers (2-4 designs) to coordinate with each PAPER DOOR theme.
  • PRIVATE ACCESS to PDF files with step-by-step instructions for at least 4 different projects and other bonuses.

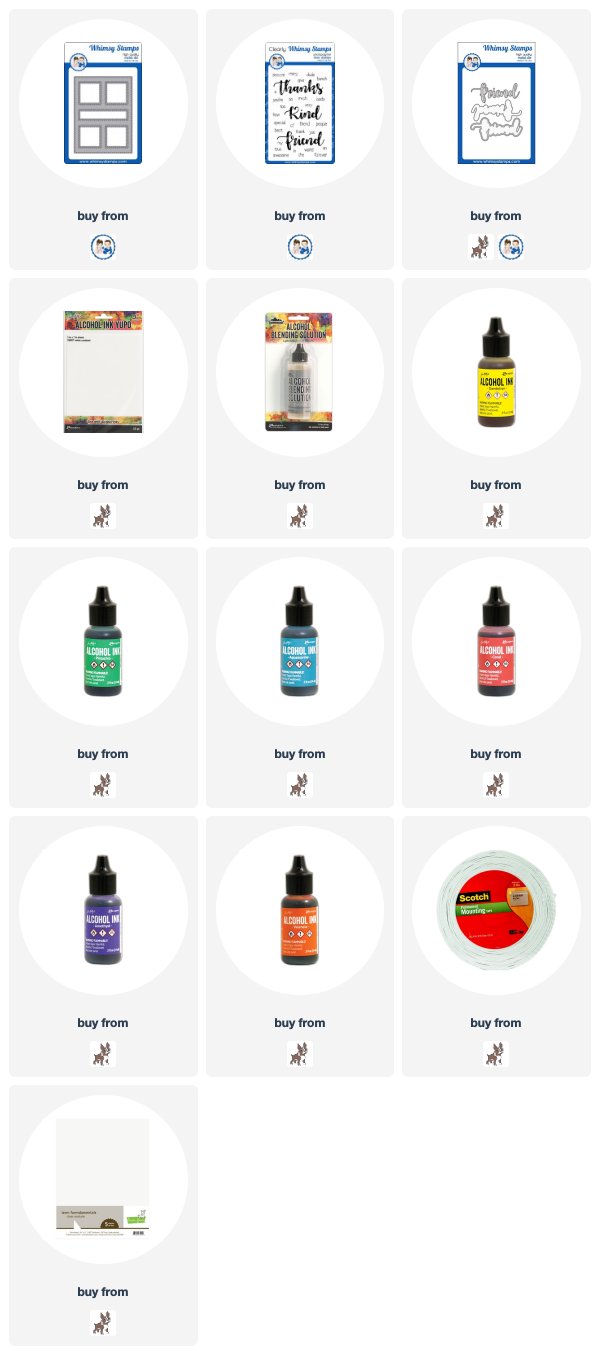
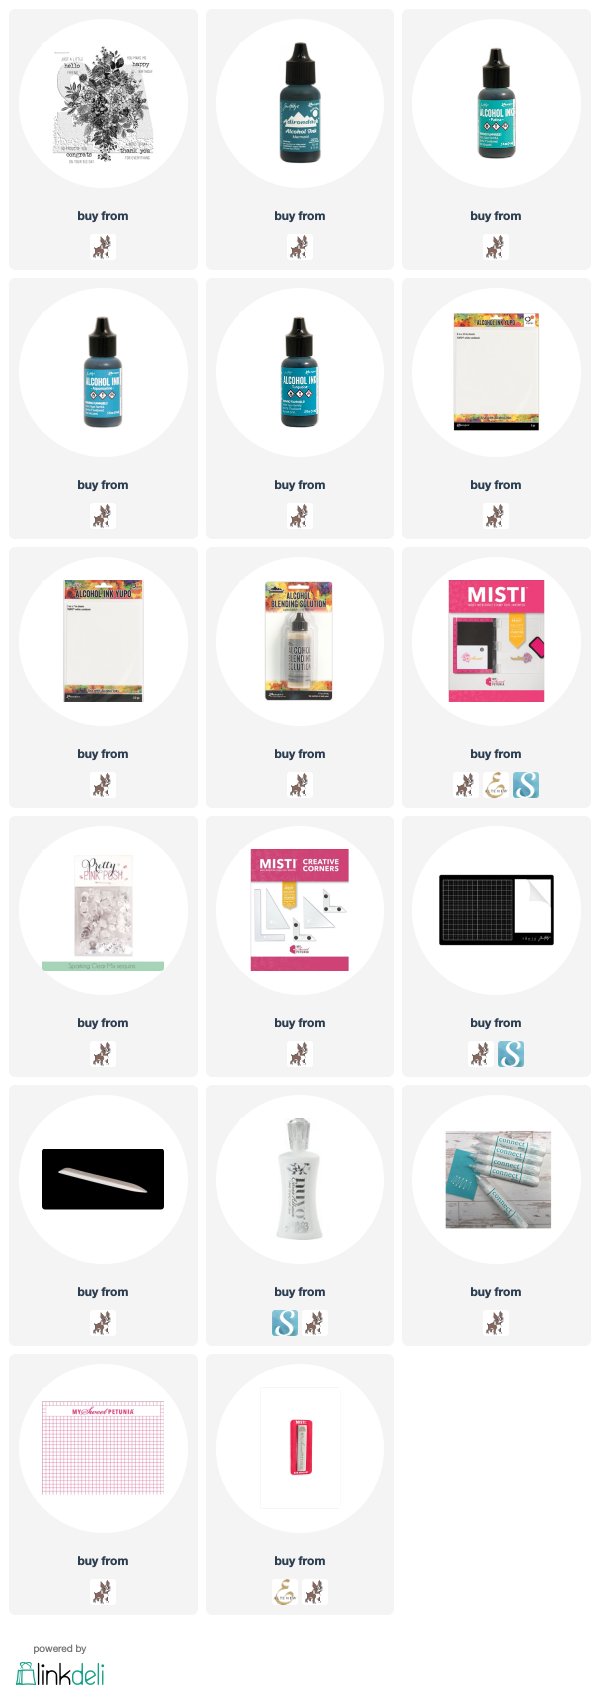
For my first card, I started out by taking an alcohol inked background from my stash that I had previously made and then added some of the flowers and leaves from the kit. I stamped them with a really light ink to begin with and then added a bit of Copic coloring. I then went back and stamped the images again, this time with Versamark ink. That way, I could heat emboss the images with silver embossing powder and not have to worry about my markers being possibly ruined by going over the embossing powder.

My Misti helped me do this. I finished off the card by adding a heat embossed sentiment from an older Whimsy Stamps set and then fussy cut around it.


Each Paper Door kit contains the most beautiful papers that you won't find other places. I loved the soft peachy tones of the one I used below.

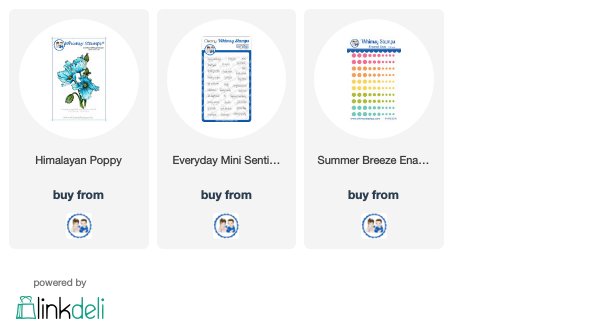
Again, I stamped out some of the flowers and leaves from the kit, die cut them out and added them to my specialty paper. I finished off the card with a sentiment from the Beaucoup Bouquet Sentiments stamp set. Note that this is not included in the kit but coordinates perfectly.


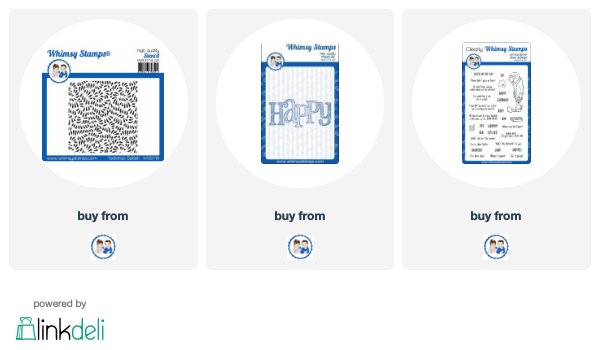
For my last card, I started with this really cool piece of textured paper included in the kit. I used the Bold ABCs dies to die cut the word Thanks from the panel. I then backed this with some coordinating glitter card stock, also included in the kit.

I did some simple Copic coloring gain on some flowers and leaves, added them to the card and this card is complete.


***Affiliate links used for some products at no additional cost to you. Thanks for your support in running this blog***

2 cards with Alcohol Inks and Whimsy Stamps

Monday, March 26, 2018

Hi friends. I have two cards to share with you today for Whimsy Stamps. On both cards, I've used the gorgeous Himalayan Poppy rubber stamp along with some alcohol inks.

On both cards, I started by creating my alcohol inked backgrounds.  Once they were completely dry, I stamped the Himalayan Poppy image onto the panels. 


For my yellow card, I finished off the card with a heat embossed sentiment from the Everyday Mini Sentiments set. Some Summer Breeze Enamel dots finish off the card.


***Affiliate links used for some products at no additional cost to you. Thanks for your support in running this blog***

Declarations

I work with the following companies and do receive product from them to use on this blog on occasion; however, all opinions are my own and I would never promote anything or any store that I don't believe in

This Calls for Confetti


I also participate in several affiliate programs. If you click on links to those stores and make a purchase, I receive a small commission that is used in the costs of running this blog. Thank you for your support
Made With Love By The Dutch Lady Designs