Showing posts with label spellbinders. Show all posts
Showing posts with label spellbinders. Show all posts
7 Cards using the Handmade Holidays Kit from Spellbinders
Tuesday, July 23, 2024
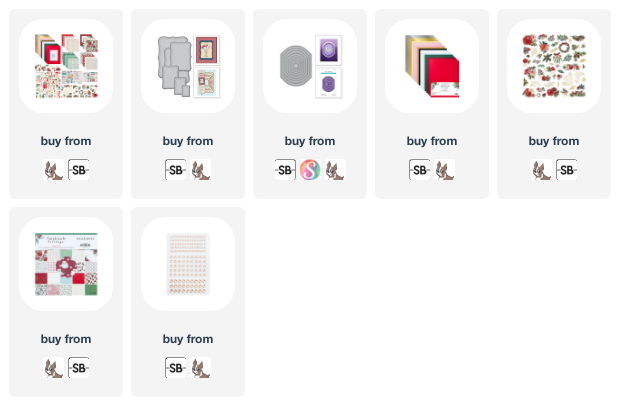
Hi friends. I was fortunate to receive the Handmade Holidays Limited Edition kit from Spellbinders and let me tell you, this kit is amazing! It is chock full of papers, two packages of ephemera, embellishments, chipboard stickers, adhesive, plus a total of 25 cards and envelopes. Oh, and you also get a stamp set!
And if you find yourself running low on a certain item, many of the items are also available open stock as well. I've linked all the products at the end of this post, both from Spellbinders and Simon Says Stamp.
I have 7 cards to share with you using the contents of this kit. I only brought in a couple of foundational types of dies, the Labels Eight die set, and the Mirrored Arch Labels die set, both from Spellbinders, and some gold sparkly enamel dots. Everything else I used is included in the kit.
We all know that all things postage is the rage right now and this kit has several postage type images included in it.
Finishing off these cards is a pair of mini slimline cards. They feature the patterned paper along with some of the enamel words.
I hope you have a wonderful day. Thanks for your visit and crafty hugs! ~ Alanna
Labels:
spellbinders

Spellbinders BetterPress Registration
Wednesday, March 13, 2024
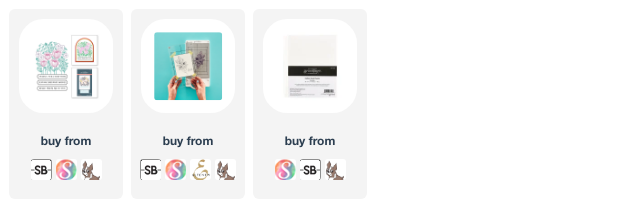
Hi friends. I have another card to share with you featuring the beautiful Blooming Garden press plate from Spellbinders. If you missed either of my first two posts using this set, click here and here.
This card is very clean and simple and all I did was ink up the press plates using black, red, and yellow inks. I mounted the pressed panel onto a piece of black card stock and then everything was added to a white A2 notecard. How great would a set of these be to give as a gift?
Labels:
spellbinders

Celebrate with Spellbinders
Monday, March 11, 2024
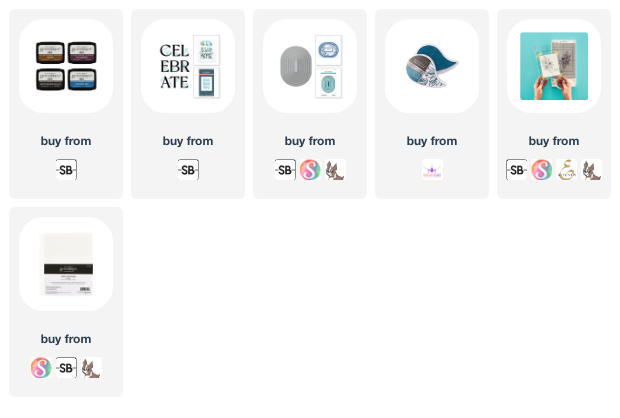
Hello friends. I am excited to share this quick and easy card with you that features the brand-new Celebrate Flowers Registration press plate from Spellbinders, designed by Yana Smakula.
To get started, I took the Celebrate Flowers press plate and inked it up with the Tropic Blue Pearlescent Ink from Spectrum Noir and the black BetterPress ink using the guide that is included in the set to get the perfect placement for the florals.
After this was done, I die cut the panel using one of the Stylish Oval dies.
I took a piece of patterned paper from my stash and added it to a white A2 notecard. I then added my focal panel with foam tape and finished off the card with some heart gems.
I hope you have a wonderful day. Thanks for your visit and crafty hugs! ~ Alanna
Labels:
spellbinders

Spellbinders BetterPress Inspiration
Thursday, March 7, 2024
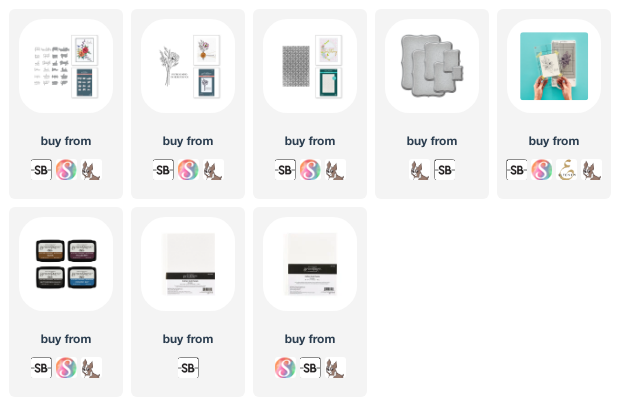
Hi friends. I'm back today with a card featuring the beautiful Sealed Florals BetterPress plate from Spellbinders. To get started, I took a piece of their Porcelain cotton card panels and lightly blended on some blue and pink inks. I then pressed on the floral image from the Sealed Florals set using the BetterPress black ink which is part of the Regal Tones ink set. The sentiment is from a different press plate set, the A Little Message Sentiments press plate and die set.
I die cut this panel using one of the dies from the Labels Eight set. I then took the Circle Illusions 3D embossing folder and ran it through my Platinum 6 machine with white card stock. I trimmed it down to just smaller than A2 size and added it to a white A2 notecard.
I added on my focal panel with some thin foam tape and some silver gems finish off this card.
Labels:
spellbinders

Spellbinders Press & Place Registration
Monday, February 26, 2024
Hello friends. So, Spellbinders came out with a collection of two press plates, in their Press & Place Registration collection. These plates are brilliant because with the template that is provided, you can create a colorful background like this with multiple colors. The template assures that you line up each of the press plates in just the right spot. If you missed my first card using this set, click here.
For this card, I am using the Blooming Garden press plate. I inked it up with several colors and then die cut the panel using a die from the Essential Arches die set. I then took a piece of patterned paper from Lawn Fawn and added it to a white A2 notecard. I added the focal image with foam tape and added in some gold gems to finish off the card.
I hope you have a wonderful day. Thanks for your visit and crafty hugs! ~ Alanna
Labels:
spellbinders

Spellbinders February 2024 Club kit Inspiration
Friday, February 23, 2024
Hi friends. I have two different cards to share with you today, both using the February 2024 stamp of the month club kit from Spellbinders. You can purchase just the stamp set for $10 which includes free shipping in the USA or for $17.50, you can get both the stamp set and coordinating dies, again with free shipping in the USA.
For my first card, I started by stamping the large focal image from the February 2024 stamp club kit with gold ink onto white card stock. When it was dry, I die cut the image using the coordinating dies. How awesome is that die to cut out all of the insides? I just love it.
I embossed the February 2024 embossing folder of the month onto black card stock and then added some gold splatter on top of it. I added this panel to a piece of gold mirror card stock and then added it to a white A2 notecard.
I then die cut the coordinating frame die two more times from white card stock and stacked everything together for dimension and strength. I added this to my card and then finished it off with a sentiment which is included in the February 2024 stamp of the month. And if you get the coordinating die set, there are dies to cut out several of the sentiments which is awesome!
I then die cut the coordinating frame die two more times from white card stock and stacked everything together for dimension and strength. I added this to my card and then finished it off with a sentiment which is included in the February 2024 stamp of the month. And if you get the coordinating die set, there are dies to cut out several of the sentiments which is awesome!
For my second card, I followed the same steps primarily but this time, instead of using the coordinating dies to cut out my focal panel, I used one of the dies from the Essential Arches die set - a match made in heaven. On this panel, I went even heavier with the splatter and also added some white splatter. I think it's a bit too much but hey, it's okay, right? :)
I used the same embossing folder and sentiment set on this second card that I did on the first.
Labels:
spellbinders

Spellbinders February 2024 Stencil Club Kit Inspiration & a Bonus Card
Wednesday, February 21, 2024
Hi friends. I have two cards to share with you today, using a technique I recently saw Jennifer McGuire do. It is so simple yet creates a stunning result which will have your recipient wondering how you achieved this look.
For my first card, I am using the February 2024 stencil of the month from Spellbinders. This includes 4 different stencils and costs just $14, and there is also free shipping in the US on all club kits.
I started by taking a piece of white card stock and I added three colors of brightly colored ink to it using a direct to paper technique. I wanted lots of ink down and this was the easiest way to do that.
Once my panel was inked, I took the stencil and laid it over top and them took some black pigment ink and blended that over top. When it is done, all you have to do is lift off the stencil and you achieve the look below.
For this card, I added the panel to a white A2 notecard and added my sentiment and some gems. The sentiment was foiled using White Opaque foil and is from the Must Have Sentiments set from Spellbinders.
My second card uses the same colors and techniques but a different stencil. This time, I used the Kaleidescope Window stencil from Spellbinders. The sentiment is from the same set I used on the first card. And this time, I added in some black die cut hearts that I added some Tonic Aqua Shimmer to.
I hope you have a wonderful day. Thanks for your visit and crafty hugs! ~ Alanna
Labels:
spellbinders

Using White Pigment ink on your BetterPress Plates
Tuesday, February 20, 2024
Hello friends. So, Spellbinders came out with a collection of two press plates, in their Press & Place Registration collection. My card today features the beautiful Blooming Garden press plate from this collection. These plates are brilliant because with the template that is provided, you can create a colorful background like this with multiple colors. The template assures that you line up each of the press plates in just the right spot.
I love this set so much that I will have two more cards featuring it coming up in a few days so stay tuned for those.
For this card, I wanted to ink up all the plates from the Blooming Garden set with white pigment ink. I still used the placement and alignment guide, but everything was done with the white ink onto black card stock. So, this doesn't really have must texture to it but it's a great way to stretch your supplies and get a totally different look. After my panel was complete, I die cut using a large circle die and then added it to a piece of white card stock that I had embossed using the February 2024 embossing folder club kit. This was then added to a piece of black card stock which was added to a white A2 notecard.
The sentiment is from the Always and Forever Sentiment Strips press plate and die set. Like I did with the focal image, I used the white pigment ink to ink it up onto black card stock.
I hope you have a wonderful day. Thanks for your visit and crafty hugs! ~ Alanna
Labels:
spellbinders

Floral W Press Plate Sympathy Cards
Friday, February 16, 2024
Hi friends and happy Friday! I have a trio of cards for you today using the new Floral W and Sentiment BetterPress plate from Spellbinders. They have all of the letters in a combo set and if you want the entire alphabet, there is a tremendous savings on it versus buying the letters one at a time. Each of the sets has the large letter and then a sub-sentiment that goes with it. You could use the letters with or without the sentiments. Click here to see all of the letter sets at once.
One of my favorite things about BetterPress plates is that you can also foil them. While I didn't do that on these cards, look for a post coming in the next couple of weeks where I show another one of the letters foiled instead of pressed.
For these cards, I started by inking up the Floral W and Sentiment press plate with the Spellbinders black BetterPress ink onto some of their Porcelain cotton A2 card panels. I then took a couple of watercolor markers and quickly added in coloring on just some of the flowers. I die cut the panels using the largest die from the Labels Eight die set and mounted them with foam tape onto A2 aqua notecards.
I absolutely love how these came together and in just a half hour, I was able to add three sympathy cards to my stash.
I absolutely love how these came together and in just a half hour, I was able to add three sympathy cards to my stash.
I hope you have a wonderful day. Thanks for your visit and crafty hugs! ~ Alanna
Labels:
spellbinders

Spellbinders January Stencil of the Month Inspiration
Wednesday, February 14, 2024
Hello friends. I realized I never shared this card featuring the January 2024 Spellbinders stencil of the month club kit. If you missed out on this in January, it is still available to purchase here.
If you aren't a subscriber to the stencil of the month club kit from Spellbinders, click here. This club kit is only $14 and usually comes with 4 stencils. Shipping is also free in the USA.
This stencil set has 4 layers and also coordinates with the January 2024 glimmer club kit. But it is able to stand alone on its own, as I've shown in this example.
Back to my card. To get started, I did ink blending with the stencils to get the layered and shaded look. I just love layering stencils and how easy they make it to create beautiful cards with little effort.
After my stenciling was done, I die cut the panel using the largest die from the Labels 8 die set. I then stamped the sentiment, which is from the January 2023 stamp of the month, no longer available, unfortunately. I finished off the card by adding in some gold splatter and clear enamel dots. I popped the panel up with foam tape and added it to a kraft A2 notecard.
I hope you have a wonderful day. Thanks for your visit and crafty hugs! ~ Alanna
Labels:
spellbinders

Spellbinders & Simon Hurley Inspiration
Saturday, February 10, 2024
Hello friends. I am excited to share this pair of cards with you today that feature lots of fun products from Spellbinders including the brand-new Spring Magnolias Press Plate & die set from Simon Hurley.
To get started, I took three of the press plates from the Spring Magnolias set and instead of using my BetterPress system with them, i foiled them using Pewter foil. I love how your press plates offer up double duty.
After my foiling was done, I took my panels and blended on various shades of blue Distress inks, all linked at the bottom of the post. I then embossed my panels using the Bamboo Trellis 3D embossing folder. I wasn't paying attention, and I used the "wrong" side of the embossing folder, so my panels are more debossed than embossed but i am okay with that. It still adds texture. I then took some Distress Mica Stain in the Wonderland color and added just a bit of splatter with it. It's subtle because the color matches the background quite well.
I trimmed down my panels and rounded the corners using my Corner Chomper. I added them with foam tape to white A2 notecards. I then added my sentiments which I also foiled. They are from the You are Everything Press Plates and die set. I die cut each of the words two more time for dimension. Some clear enamel dots finish off these cards.
I hope you have a wonderful day. Thanks for your visit and crafty hugs! ~ Alanna
Labels:
spellbinders

Spellbinders February 2024 Glimmer Club Kit Inspiration
Monday, February 5, 2024
Hello friends and happy Monday! I am back today with a pair of cards featuring the gorgeous February 2024 Glimmer club kit from Spellbinders. It has a beautiful large daffodil foil plate along with a couple of sentiments. You also get a full roll of glimmer foil with your club kit purchase, all for just $22.50 which includes free US shipping.
For my cards, I glimmered the large image from the February club kit with White Opaque foil onto some pink card stock. I love how you can get such a nice white and crisp image with this foil.
After my foiling was complete, I die cut both panels using the largest die from the Labels 8 die set. I then blended on some darker pink ink around the edges to add a bit of depth. I took the hello sentiment from the I've Got You Covered stamp and die set and stamped it with black ink. I was then going to add these to just white A2 notecards but decided I didn't like how stark white the card base was compared to the panel.
So, I took one of the stencils from the February 2024 Stencil club kit and a light pink ink and blended over the stencil on just the perimeter of my card. It adds a subtle texture but I'm but happier with how this looks now.
I then added foam tape to the back of my panels and finished them off by adding in some pink pearls.
Labels:
spellbinders

Spellbinders BetterPress & Coordinating Stencils
Thursday, January 18, 2024
Hello friends. I am super excited to share my project with you today as I love how it turned out using products from Spellbinders. I am using the new Cosmos Backdrop Press Plate and the coordinating stencils. You can purchase just the press plate or the press plate/stencil combo at a discount.
To get started, I took the Cosmos Backdrop Press Plate and used a brown Distress Oxide Ink to ink it up.
I wanted a brown ink for the outline. I then took the coordinating stencils and colored in the images with various shades of pink and green inks.
Once I was finished with the stenciling, I die cut the panel using the largest die from the Labels 8 die set. I then added gold splatter quite liberally using this paint set and a fan brush.
After it was dry, I added foam tape to the back of the panel and popped it up onto a pink A2 notecard. I then added the foiled sentiment which made using the Always and Forever Sentiment Strips set. This is a BetterPress set, and I just love how these can be foiled. And they foil up so beautifully. I foiled it onto white Hammermill cardstock and then added some light pink ink over top.
Some gold pearls finish off the card.
I hope you have a wonderful day. Thanks for your visit and crafty hugs! ~ Alanna
Labels:
spellbinders

Sneak Peek of 3 Projects on the Spellbinders Blog
Thursday, January 11, 2024
Hi friends. I had the privilege of being a guest blogger on the Spellbinders blog earlier this week. Over there, I am showing 3 cards all made using products from their Kaleidoscope Garden Exclusive collection which has just two products - the Kaleidescope Garden BetterPress Plate and the Colorful Burst die set.
Here's a sneaky peek of what my projects look like. To see the entirety of the cards as well as to find out how I made them, click here.
Labels:
spellbinders

Subscribe to:
Posts
(
Atom
)
Declarations
This Calls for Confetti
I also participate in several affiliate programs. If you click on links to those stores and make a purchase, I receive a small commission that is used in the costs of running this blog. Thank you for your support


