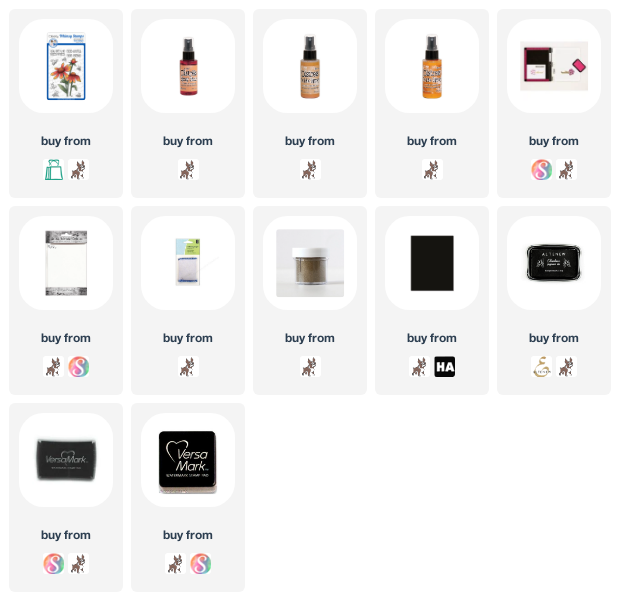
Hi friends! I'm back today with a card featuring the brand new Bees Knees set from Whimsy Stamps. I started by taking a piece of water color card stock and some Distress sprays and I created my own background. The sprays I used are linked below. I did use a combination of Distress Spray Stains and Distress Oxide Sprays.
Once my background was created and was dry, my original plan was to heat emboss the floral image and sentiment from the Bees Knees set. I stamped the images in Versamark ink and then added the gold embossing powder. However, even though my panel was completely dry, a lot of the embossing powder stuck to the image. :(
So I decided to change things up. I wiped away the embossing powder and re-stamped the images using this black pigment ink. Luckily, I hadn't moved the images from my Misti. There were still touches of embossing powder on the panel, which you can see in the card design. But in the end, I love it and feel like these gold touches add to the feel of the background.
I finished off the card by stamping in 3 of the bee images and then I trimmed down my panel and added it to a black note card.
Thank you for stopping by today. I hope you have an amazing day. Crafty hugs! ~ Alanna
***Affiliate links used for some products at no additional cost to you. Thanks for your support in running this blog***


1 comment :
Way to make an oops shine! So glad you stuck with the card and changed direction. This is very pretty, Alanna. I like the coneflower and bees image. That great background sure helps make it pop! Thanks for sharing. :)
Post a Comment