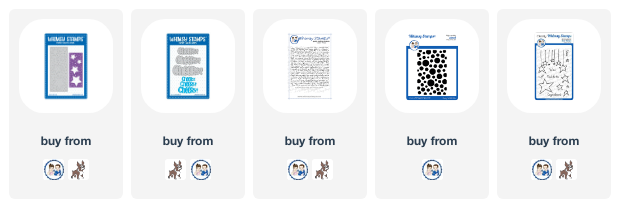
Hello friends and happy Monday. There's a brand-new release at Whimsy Stamps today and I'm using the awesome new Slimline Stardust die. For my first card, I created a shaker card using this die and the Cheers Word die set from the previous release.
I die cut the Slimline Stardust die about 5 times from aqua card stock to build up the dimension for my shaker. I added acetate and some very small star confetti. I finished off the card by adding in the die cut Cheers words from the Cheers Word die set.
For my second card, I started by stenciling a light grey A2 notecard with grey ink using the Dotty 6x9 stencil. I then took the Vintage Script Background stamp and stamped over top of the stenciling with some teal ink. I then took several of the fall out stars from my first card and added them onto the stenciled and stamped background.
I stamped the sentiment which is from the FaDoodle Stars set and finished off the card by adding in just a few of the mini star confetti that I used in my shaker card.


1 comment :
How cool that you essentially made two cards from one main die, Alanna. I like your shaker card because, well, shaker cards are just plain fun. I really like the details you added to the second card with the stencil and stamping. Terrific job on both cards!
Post a Comment