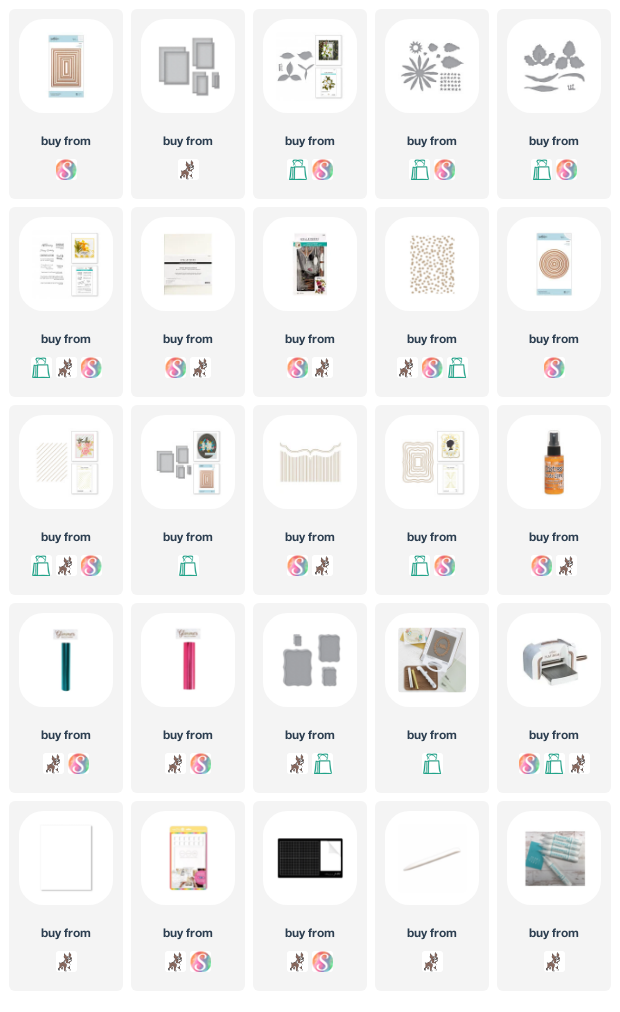
Hi friends. I was thrilled to be a guest on the Spellbinders blog this weekend and am now sharing my projects here. For this post, I will be using stamps and dies from the Susan’s Garden Favorites collection from Spellbinders. I
just love the dimensional looks you can get from all of Susan’s florals and
these new dies are no exception. To get the most out of these dies, I highly
recommend using Susan’s Garden Ultimate Tool Kit. This set of tools makes
creating your dimensional florals so easy.
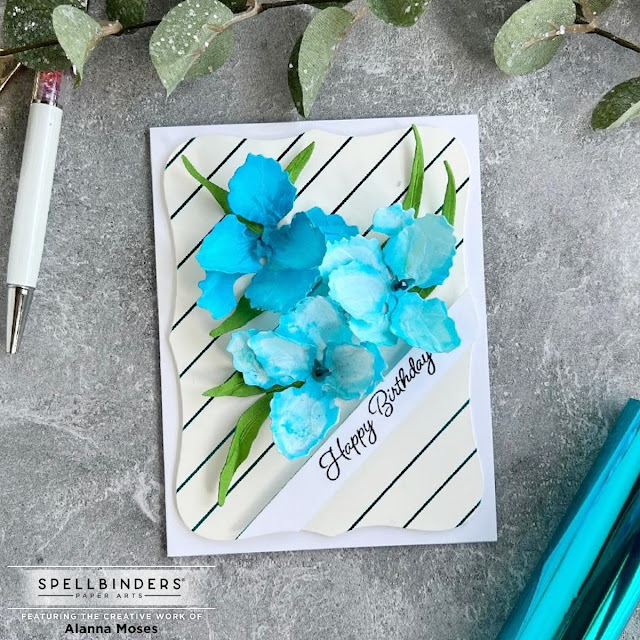
Here's a shot of all 3 cards I made.
For my first card, I used the gorgeous Trillium die set. To create my card, I started by following the tutorial on the Spellbinders YouTube channel for this set. I started by die cutting all my dies from white card stock and then colored them with Copic markers. After my florals were created, I sat them aside and took the PinstripeBracket Card Builder glimmer plate set and glimmered it onto the Spellbinders GlimmerSpecialty Cardstock with Bright Pink foil.
This paper foils like a dream and I highly recommend it. I trimmed my foiled panel down and rounded the two right corners. I added it with foam tape to a grey A2 card base. I then stamped one of the sentiments from the Garden Favorites Sentiments stamp set and stamped it with grey ink onto a piece of white card stock that I die cut from the Essential Circles die set. I added it to the card and then arranged my florals and leaves.
For my next card, I chose to work
with the beautiful Sunflower with Ladybugs die set. I created a set of three
sunflowers, again using the tutorial on the Spellbinders YouTube channel. I
started with white die cuts and then added color with my Copic markers. I then
took some Distress Oxide spray in Wild Honey to add on additional color and
texture. I formed my flowers and then added the centers with the dies that I
cut from brown card stock.
I used the Scattered Dot Pattern glimmer plate and
foiled a piece of white card stock using Teal foil. I then die cut this panel
using the largest two dies from the Nestabilities Essential Rectangles die set
and added it with foam tape to my white A2 card base. I added my sunflowers to
the card and then stamped a sentiment from the Garden Favorites Sentiments set
with brown ink. I trimmed around it and added it to my card with foam tape.
Crafty hugs! ~ Alanna


1 comment :
Oh wow, Alanna! These are gorgeous. I am thoroughly impressed. I don't have any of these dies, but you surely made them shine. The detail is amazing. Your foiling looks terrific, too. Congratulations on your guest post on the Spellbinders blog. Hope you get lots of new admirers. Thank you so much for sharing. Have a happy week!
Post a Comment