Hi friends. I am sharing 4 cards with you today using various products from the Tis the Season collection from Spellbinders. This is such a great collection and the products work so well together. This is a long blog post so thanks up front for sticking with me until the end.
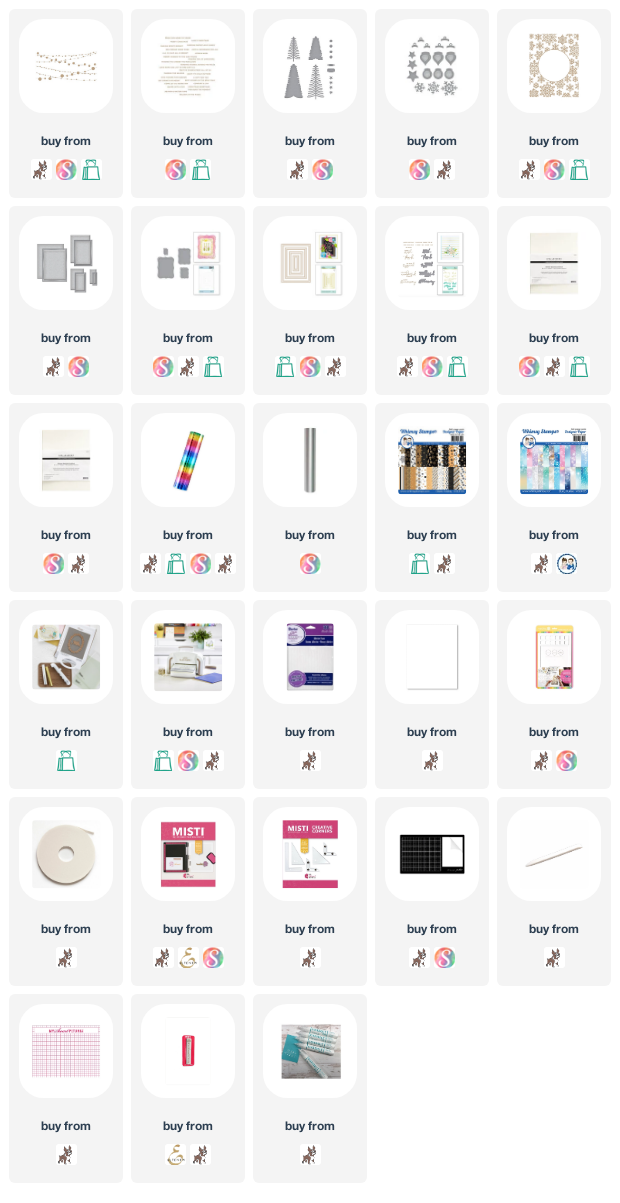
For my first card, I started by taking the new String Lights Background glimmer plate and I glimmered it with the Mini Rainbow Stripe foil two times onto this card stock from Spellbinders that is formulated especially for best results when glimmering. If you have struggled with getting good results with your foiling, I highly suggest this card stock. It is a game changer for sure! I die cut it using the largest die from the Nestabilities Essential Label die collection.
I then took the new Bottle Brush Trees and die cut both the base layer and the detail layers and glued them together. I added these to my glimmered background. I then took one of the sentiments from the Mini Christmas Sentiment Strips glimmer collection and foiled it using the same Mini Rainbow Stripe foil that I used on the background. I popped it up with foam tape and this fun card is complete.
For my second card, I started by taking the Snowflake Sparkle Background glimmer plate that was released last year and I glimmered it onto this card stock with silver foil. I then die cut some of the snowflake dies from the new Holiday Decorations die collection from both blue and silver glitter card stock. I layered some of them together. I then glimmered a sentiment from the Yana's Special Sentiments glimmer collection and then die cut it out.
I love that the coordinating dies are included in the collection. I used the coordinating die to die cut it two more times from white card stock so I could have a more dimensional sentiment. I adhered everything together and then added it and my snowflakes to my card panel.
For my third card, I die cut the ornaments from the Holiday Decorations die collection from the same blue glitter card stock I used above. I then die cut the ornament toppers from the same silver glitter card stock. I then took a piece of patterned paper from the Blurry Flurries paper collection from Whimsy Stamps and foiled it using the previously released Essential Duo Lines Glimmer Rectangles glimmer plates. I love the finished look this gives the background.
I added my ornaments and then added their strings with a white gel pen. I finished off the card with a glimmered sentiment which is from the Mini Christmas Sentiment Strips glimmer collection.
For my last card, I started by taking a piece of patterned paper from the Gilded Holiday paper collection from Whimsy Stamps and I die cut it using the largest dies from the Nestabilities Essential Rectangles die collection from Spellbinders. I then took the Mini Christmas Sentiment Strips glimmer collection and glimmered 3 sentiments with gold foil onto white card stock. I trimmed these out and added to my card panel with foam tape.
And there you have it - 3 more Christmas cards for my stash plus a card to send to a card this coming winter. :) I would love to hear which one is your favorite. I think the first one is my favorite.
I appreciate you stopping by and hope you are all doing well. Crafty hugs! ~ Alanna
***Affiliate links used for some products at no additional cost to you. Thanks for your support in running this blog***


1 comment :
A lovely collectiono of cards, my friend. I know it feels wonderful to add more to your holiday card stash. These are very pretty! I can't pick a favorite, but my eye is definitely drawn to the snowflake card. Thanks so much for sharing, Alanna! Crafty hugs!
Post a Comment